
A taxi light can be working perfectly and still not be doing its job.
One of our salespeople recently came across a Whelen Aerospace Technologies G3 taxi light that had been installed 90 degrees from its correct orientation. The light worked, but the installation changed the direction of the beam pattern.
It’s a good reminder that there are a few details worth checking when installing an LED landing or taxi light.
1. Taxi Light Orientation Matters
Take a closer look at the face of a Whelen G3 taxi light and you’ll notice vertical lines in the inner optic. Those lines aren’t just cosmetic—they are part of the optics that create the taxi light’s wide beam pattern.
For the taxi light, those lines need to be oriented vertically.
That orientation produces a horizontal beam that spreads light left and right in front of the aircraft, where you need it while taxiing. Install the light 90 degrees out of position and the beam pattern is rotated along with it, greatly reducing the useful horizontal coverage.
Whelen Aerospace Technologies gives you an easy visual check for proper orientation: when looking at the light, you should be able to read the WAT and flywat.com markings normally at the bottom of the lens.
If the lettering is sideways, the light is not oriented correctly.
2. Don’t Forget Polarity
The G3 LED light is also polarity sensitive.
Unlike an incandescent landing light, positive and negative connections matter. The good news is that reversing the polarity will not damage the G3. The light simply won’t illuminate.
If a newly installed G3 doesn’t come on, check the polarity before assuming there’s a problem with the light itself.
Before completing the installation, power the light on and confirm that it has proper operation and proper orientation.
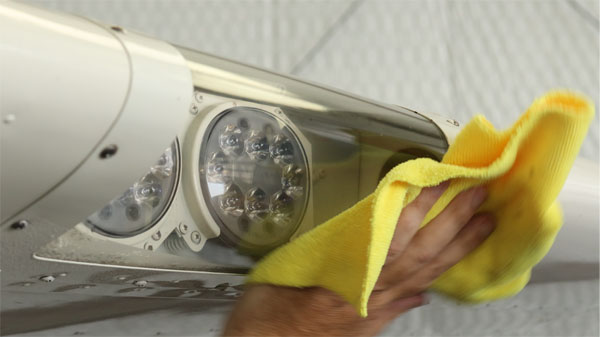
3. Clean It Before You Close It Up
There is one final step that’s easy to overlook: clean the lenses.
During installation, fingerprints, dust and smudges can end up on the face of the LED light. The inside and outside of the aircraft’s protective landing-light lens can collect the same contamination.
Before closing everything up, clean the face of the light and both accessible surfaces of the aircraft lens. You’ve installed a high-performance LED light—don’t leave anything between it and the runway that unnecessarily reduces its performance.
Before calling the installation complete, check three things: orientation, polarity and cleanliness.
These might be small details, but they can make a big difference in getting the performance you expect from your new landing or taxi light.
Considering an LED Upgrade?
If you’re comparing LED landing and taxi light options for your aircraft, take a look at our LED Aircraft Landing Light Buyer’s Guide. It covers the key considerations when choosing an LED lighting upgrade and can help you determine which light best fits your aircraft and mission.